How to apply Car Window Film

Introduction

Applying 3M stickers to your car window can be a fun and rewarding DIY project. Whether you’re adding decorative elements or applying a business logo, the process can be simplified into clear steps. In this comprehensive guide, we will walk you through everything you need to know about applying 3M stickers to your car window, ensuring a smooth and professional finish.

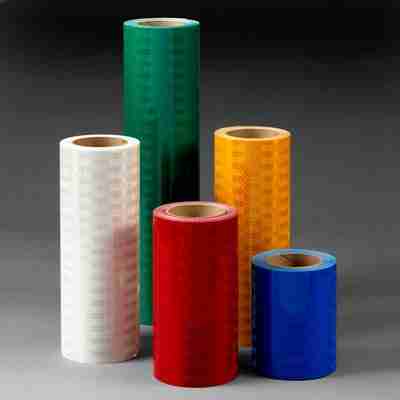
Step 1: Choose the Right 3M Sticker

  • Select the Design: Choose a design that fits your car’s aesthetic or business branding.
  • Size and Dimensions: Ensure the sticker’s size fits the intended space on your car window.

Step 2: Prepare the Surface

  • Clean the Window: Use a high-quality glass cleaner to remove all dirt, grease, or residue.
  • Dry the Surface: Wipe down the window with a dry microfiber cloth, ensuring it’s completely dry.

Step 3: Align and Position the Sticker

  • Measure the Position: Use measuring tape to find the exact position where you want the sticker.
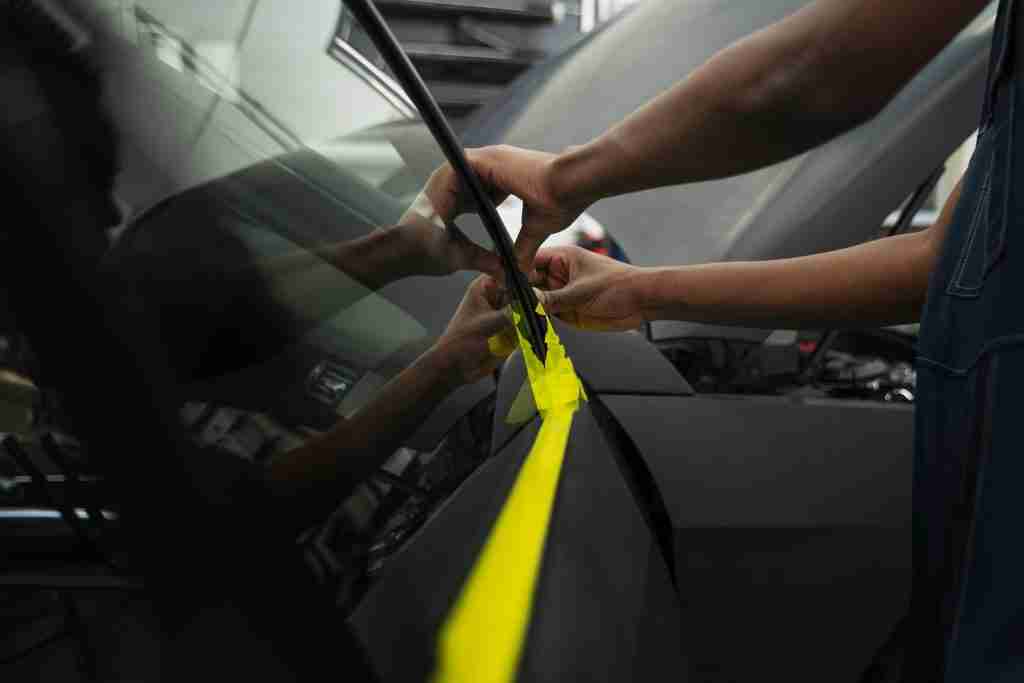
  • Use Guide Tape: Apply guide tape if necessary to maintain alignment.

Step 4: Apply the 3M Sticker

  • Peel the Backing: Carefully peel off the backing without touching the adhesive side.
  • Align and Apply: Place the sticker onto the window, starting from one end and slowly pressing towards the other end.
  • Smooth Out Bubbles: Use a squeegee or a credit card wrapped in a soft cloth to smooth out any bubbles.

Step 5: Final Inspection

  • Check Alignment: Inspect the sticker to ensure it is aligned correctly.
  • Inspect for Bubbles: If any bubbles are found, gently press them towards the edges to remove them.

Maintenance Tips

  • Wait Before Washing: Allow the sticker to adhere properly; avoid washing the car for at least 48 hours.
  • Avoid Direct Scrubbing: When cleaning, avoid scrubbing the sticker directly to maintain its longevity.

Conclusion

Applying 3M stickers to your car window doesn’t have to be a complicated task. By following this step-by-step guide, you can achieve a professional finish at home. Remember, patience and careful alignment are key to a successful application. If you need further assistance or have any questions, feel free to reach out to our support team.

By targeting car enthusiasts and businesses looking to brand their vehicles, this guide not only serves as a helpful resource but can also lead to increased customer engagement and trust. Always ensure that the content is linked to the products and provide a clear call to action for purchasing or further inquiries.

Introduction

Applying 3M stickers to your car window can be a fun and rewarding DIY project. Whether you’re adding decorative elements or applying a business logo, the process can be simplified into clear steps. In this comprehensive guide, we will walk you through everything you need to know about applying 3M stickers to your car window, ensuring a smooth and professional finish.

Step 1: Choose the Right 3M Sticker

  • Select the Design: Choose a design that fits your car’s aesthetic or business branding.
  • Size and Dimensions: Ensure the sticker’s size fits the intended space on your car window.

Step 2: Prepare the Surface

  • Clean the Window: Use a high-quality glass cleaner to remove all dirt, grease, or residue.
  • Dry the Surface: Wipe down the window with a dry microfiber cloth, ensuring it’s completely dry.

Step 3: Align and Position the Sticker

  • Measure the Position: Use measuring tape to find the exact position where you want the sticker.
  • Use Guide Tape: Apply guide tape if necessary to maintain alignment.

Step 4: Apply the 3M Sticker

  • Peel the Backing: Carefully peel off the backing without touching the adhesive side.
  • Align and Apply: Place the sticker onto the window, starting from one end and slowly pressing towards the other end.
  • Smooth Out Bubbles: Use a squeegee or a credit card wrapped in a soft cloth to smooth out any bubbles.

Step 5: Final Inspection

  • Check Alignment: Inspect the sticker to ensure it is aligned correctly.
  • Inspect for Bubbles: If any bubbles are found, gently press them towards the edges to remove them.

Maintenance Tips

  • Wait Before Washing: Allow the sticker to adhere properly; avoid washing the car for at least 48 hours.
  • Avoid Direct Scrubbing: When cleaning, avoid scrubbing the sticker directly to maintain its longevity.

Conclusion

Applying 3M stickers to your car window doesn’t have to be a complicated task. By following this step-by-step guide, you can achieve a professional finish at home. Remember, patience and careful alignment are key to a successful application. If you need further assistance or have any questions, feel free to reach out to our support team.

By targeting car enthusiasts and businesses looking to brand their vehicles, this guide not only serves as a helpful resource but can also lead to increased customer engagement and trust. Always ensure that the content is linked to the products and provide a clear call to action for purchasing or further inquiries.

Share:

Facebook
Twitter
Pinterest
LinkedIn
On Key

Related Posts